← All machines

Build no. 001 / Six Cell Machine

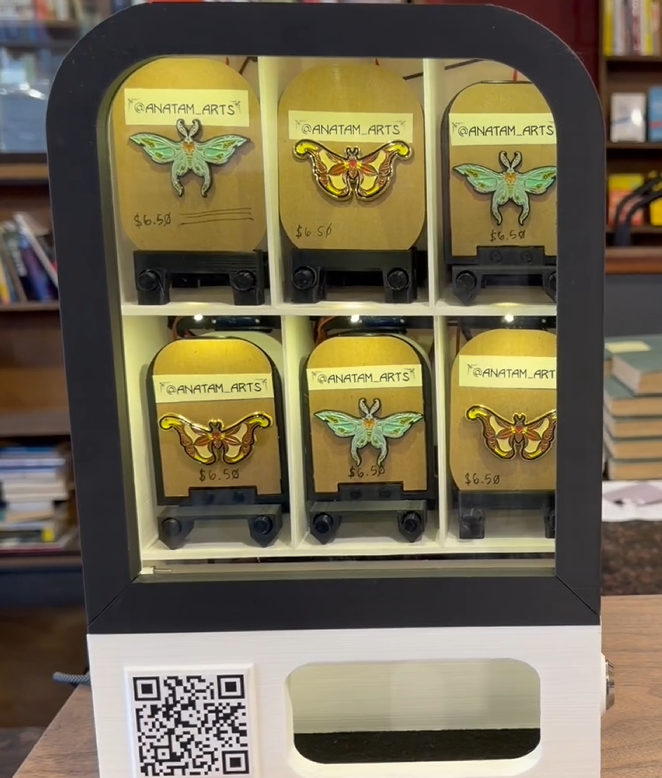
Six slots to sell stickers, jewelry, pins.
With your fingerprints on it.

3D-printed parts. An ESP32 brain.
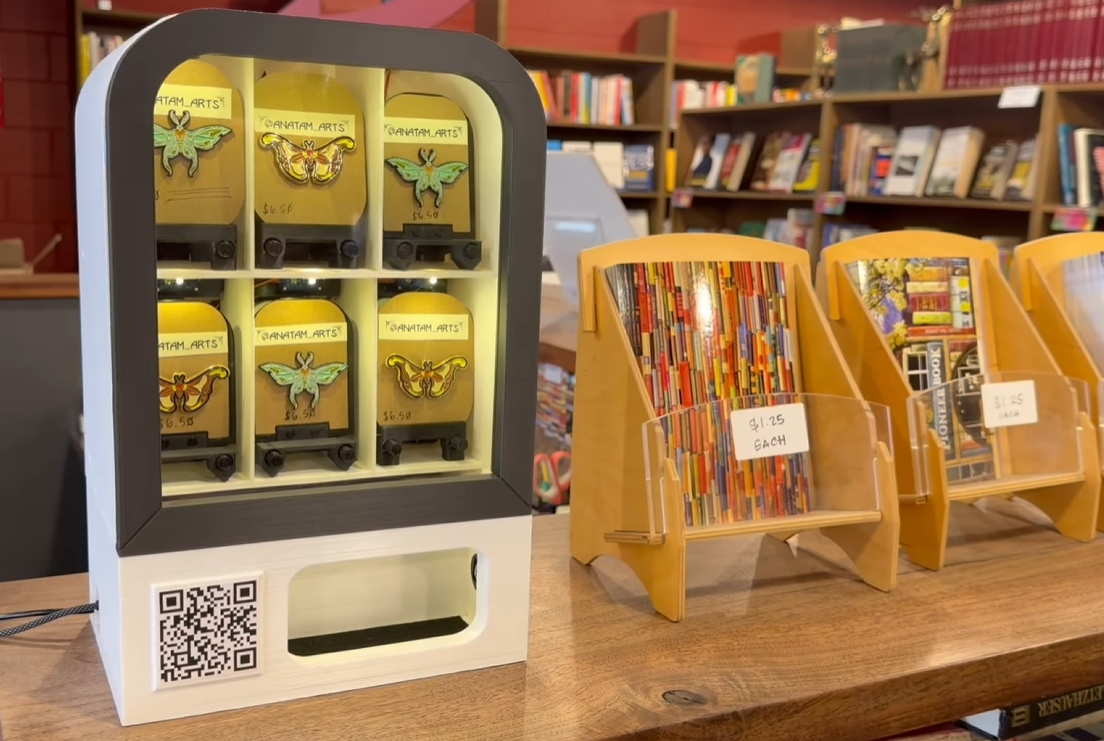
3D-printedXIAO ESP32C3Wi-Fi + Trigr QR payments
Six Cell Machine NO. 001
PopVend Six Cell Machine
Six Cell Machine

01 / Print it

Print it

Print the parts for your machine.

Download print files

Resources coming soon.

02 / Build it

Build it

Follow the build video, then bring your assembled machine back here for firmware and setup.

Watch the build video

Resources coming soon.

Choose your firmware method

For the code-curious

Open it. Tweak it. Upload it.

Install the sketch with Arduino IDE, then add your connection details over USB.

Source download coming soon. Have the sketch already? Start below.

Need the editor? Get Arduino IDE ↗

  1. Grab the libraries.

    Open Tools → Manage Libraries. Install these and their required dependencies:

    • ArduinoWebsocketsby Gil Maimon
    • ArduinoJsonselect version 7.x
    • ESP32Servo
    • Adafruit SSD1306
    • Adafruit GFX Library
  2. Meet your board.

    Unzip the source and open the .ino sketch. Keep its supporting files together; let the IDE create a matching folder if asked.

    In Boards Manager, install esp32 by Espressif Systems. Missing? Use Seeed’s board setup guide ↗.

    Plug in the board. Select XIAO_ESP32C3 and its port. Set Tools → USB CDC On Boot → Enabled.

    Keep the machine idle and close other serial apps. Click Upload → and leave USB connected until it finishes.

  3. Say hello over serial.

    Open Tools → Serial Monitor at 115200 baud with Newline. No prompt? Tap RESET and reselect the port if needed.

    Answer each prompt and press Enter. Wait for the next prompt before continuing:

    Trigr ID
    Your device ID from Trigr ↗.
    Wi-Fi name (SSID)
    Your 2.4 GHz network name, including capitals and spaces.
    Wi-Fi password
    Your network password, or an empty line for an open network.

    Wait for all three settings to be saved. The board restarts and connects. Check Trigr to confirm payment readiness.

    Already configured? To replace saved details, use the machine’s five-second factory reset during normal operation, then enter all three again.

Still tinkering with this one. Web Serial is experimental. If it gets stuck, try Arduino IDE.

Close Arduino Serial Monitor and any other app using the board.

Straight from your browser

Plug in. Let’s do this.

Install firmware, then give your board its Trigr and Wi-Fi details.

1 · Install2 · Connect

Use desktop Chrome or Edge.

  1. 1Install
  2. 2Connect

Let’s load the firmware.

Keep your board plugged in until setup is done.

The recommended release is selected for you.

Next up: your Trigr and Wi-Fi details.

The tinkerer’s troubleshooting corner

Hit a snag?

My board isn’t in the device list.

Try a data-enabled cable and a direct USB port. Close other serial apps. On the XIAO ESP32C3, hold BOOT, tap RESET, then release BOOT to enter download mode. Select the board again.

Firmware installed. Now what?

Tap RESET, then reconnect to open the serial monitor. Answer each prompt and wait for confirmation that your settings are saved. If the board reconnects on a different port, select it again.

Can I update it later?

Yes. Connect your board and choose a firmware release. Published releases preserve the settings partition, so your connection details stay saved. To change them, use the machine’s five-second factory reset during normal operation, then enter all three settings again.

Wi-Fi is connected, but payments aren’t working.

Check the board’s messages for connection updates. Then check that your device is enabled and payment setup is complete in Trigr.